Send Appointment Confirmation Text Directly from propipelines.com with TextMagic
Looking for a time efficient and easy way to confirm appointments with your leads?
Let’s say you make an appointment with a lead and would like to have an easy confirmation and cancelation process. By connecting TextMagic and propipelines.com, you will be able to send out automated text messages once appointments are made.
All you need to set it up are TextMagic, no CRM.io, and Zapier accounts.
What is TextMagic?
TextMagic is a business text-messaging service for sending notifications, alerts, reminders, confirmations and SMS marketing campaigns.
If you don’t have an account with propipelines.com, click here to start a FREE trial.
If you don’t have an account with TextMagic, click here to start a FREE trial.
If you don't have an account with Zapier, click here to sign up for a FREE trial.
Get Started
Connect your TRIGGER App Account and Set Up the Trigger
Sign into your Zapier account and click on the MAKE A ZAP! button at the very top where you will be directed to a new page:
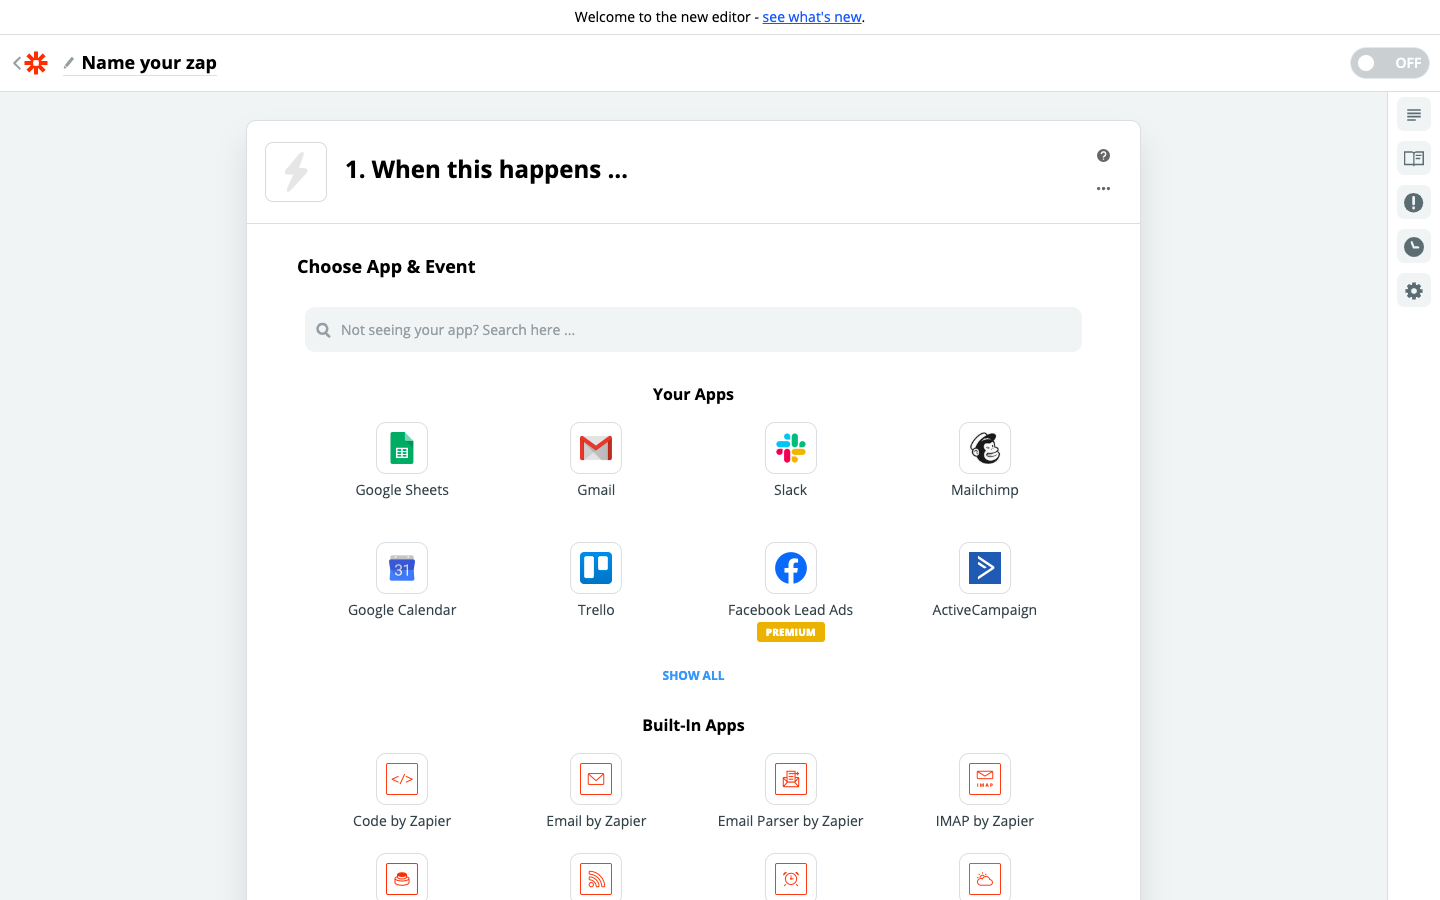
1. Choose the Trigger App: propipelines.com
2. Choose the Trigger: New Manual Trigger
3. Connect Zapier to your propipelines.com account if you haven’t already by
4. Name your Event— This will be the name of the trigger in the Actions menu
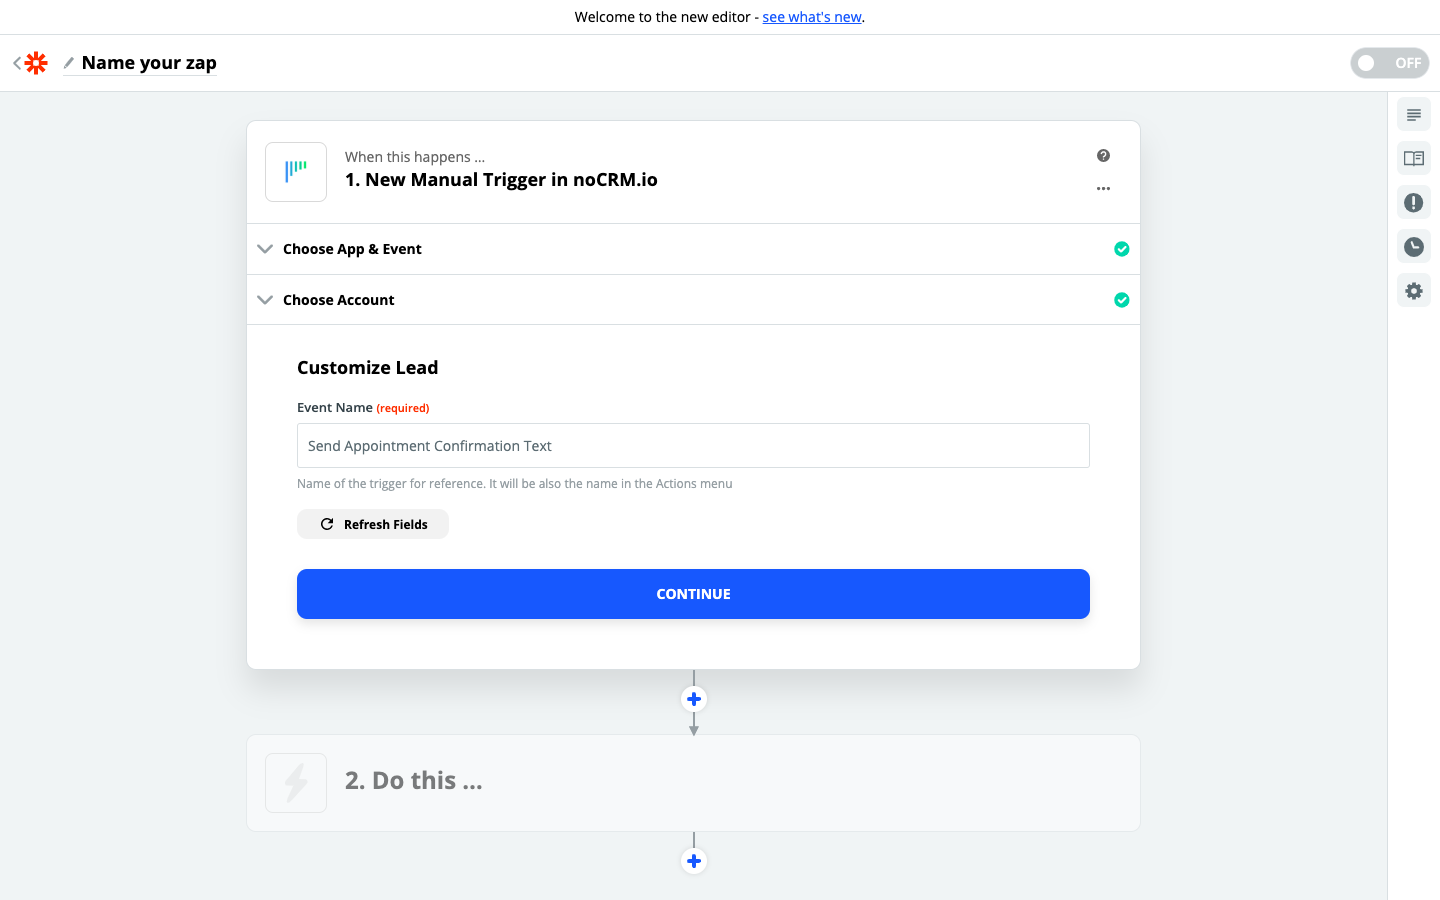
5. Fetch & Continue. Make sure you have a recent lead created in your propipelines.com account
Connect your ACTION App Account and Set Up the Action
1. Choose an Action App: TextMagic
2. Choose an Action: Find or Create Contact
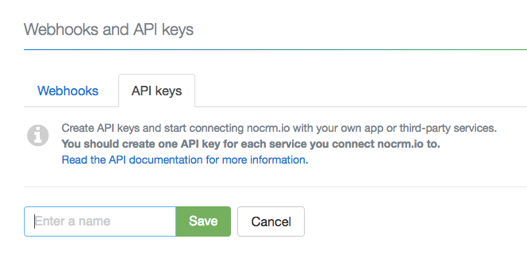
3. Connect Zapier to your TextMagic account.
Go to your TextMagic account > Services > API > Add New AI Key and copy API key generated.
4. Set up the search for contact either through the name or phone number retrieved from the Pro Pipe Lines lead sample.
Tick the box that reads "Create TextMagic Contact if it doesn't exist yet?" to add in the required information if you wish to create a new contact that doesn't exist in your TextMagic account yet.
 5. Fetch & Continue and the Action set up is finished!
Connect your ACTION App Account and Set Up the Action
1. Choose an Action App: TextMagic
2. Choose an Action: Send Message
3. Connect Zapier to your TextMagic account.
4. Edit Template to set up your TextMagic message.
Based on the lead you tested earlier, select the fields you want TextMagic to retrieve information from and write the customized message.
 5. Test the step and the workflow set up is finished!
Note:The Manual Trigger is only available in our Expert edition.